
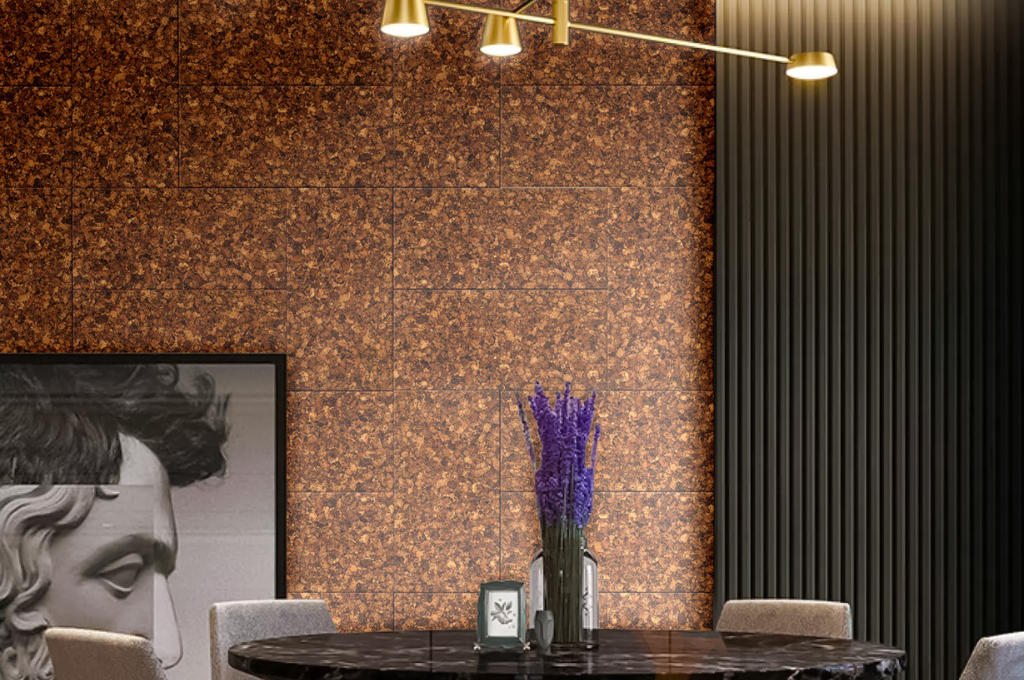
Cork wall tiles are straightforward to install when the material, wall, adhesive, and layout are prepared correctly. This five-step guide keeps the process simple while covering the checks that help produce a clean, lasting result. Always follow the current instructions for the selected cork product, adhesive, and substrate.
Important note on where not to install cork
Decorative cork wall tiles are designed for dry interior spaces unless the exact product and complete installation are approved for another use. Avoid direct splashes, excessive moisture, direct heat, prolonged intense sunlight, and unstable or damaged walls. Remove wallpaper before installation.
Step 1: Let your cork tiles acclimatize

Cork is a natural material that responds to temperature and humidity. Unpack the tiles and allow them to acclimatize in the room for at least 48 hours, unless the selected product instructions require a different period. Keep the material flat and protected while it acclimatizes.
Run the HVAC under normal living conditions before and during installation. When WAKOL D 3540 is used, its technical information specifies a jobsite temperature of 60°F to 75°F (15°C to 24°C) and relative humidity of 40% to 75%.
Step 2: Prepare the wall

The wall must be permanently dry, smooth, flat, structurally sound, securely fastened, and clean. Remove dust, grease, wax, old adhesive, loose material, wallpaper, and anything else that could weaken the bond. Repair holes and major irregularities before installation.
Do not assume that a painted wall is ready for adhesive. WAKOL D 3540 instructions require the substrate to be free from paint and other materials that could interfere with adhesion. Remove incompatible coatings and obtain project-specific guidance when the substrate is uncertain.
Step 3: Gather your tools
Prepare the tools before opening the adhesive. A typical installation requires:
WAKOL D 3540 is applied with an appropriate microfiber roller. Read the current technical data sheet and safety data sheet before use.
- Tape measure and pencil
- Level or laser and chalk line
- Metal straightedge and sharp utility knife with spare blades
- Safe cutting surface
- Approved adhesive and the application tool stated in its instructions
- Soft-headed rubber mallet when required by the adhesive instructions
- Clean cloths and the required personal protective equipment
Step 4: Plan the layout and mark guide lines

Measure the wall in inches and check the dimensions of the selected tile. Dry-fit representative tiles on the floor so you can plan the pattern, mix natural variation, and avoid very narrow cuts at the edges. For 3D tiles, confirm the orientation of every panel before adhesive is applied.
Use a level or laser to mark the first horizontal and vertical guide lines. Buildings are rarely perfectly square, so these level lines should control the installation rather than an uneven floor or ceiling.
Step 5: Apply the adhesive and install the tiles
Follow the current instructions for the selected adhesive. For WAKOL D 3540, stir the adhesive and roll an even coat over the full back of the cork tile and the prepared substrate. Allow it to dry until it is clear, dry to the touch, and slightly glossy. The typical flash time is 30 to 45 minutes, but site conditions can change the timing.
Position each tile carefully before the coated surfaces meet because little repositioning is possible. Set the complete surface with a soft-headed rubber mallet with a face of at least 2 inches, following the WAKOL instructions. Measure edge cuts and openings individually, and use several controlled passes with a sharp blade rather than forcing one deep cut.
WAKOL D 3540 has a typical working time of 2 to 3 hours and a cure time of 24 hours. Clean tools and fresh adhesive with water before it dries. Protect the wall during curing and avoid unapproved cleaning, moisture, finishes, or loads.
View WAKOL D 3540 Cork Adhesive for current technical documents, application details, and coverage guidance.


Cleaning and maintenance
Dust the installed cork with a soft brush attachment or a clean, dry cloth. Use a slightly damp cloth only when the selected product permits it, and avoid harsh chemicals or excessive moisture. Protect the wall from prolonged intense sunlight to reduce changes in tone over time.
Plan your installation
Review the selected panel page, order samples, and confirm the wall dimensions, substrate, installation location, and adhesive before beginning the project. For acoustic comfort and how cork panels handle reflected sound, see our acoustic cork wall panel guide.