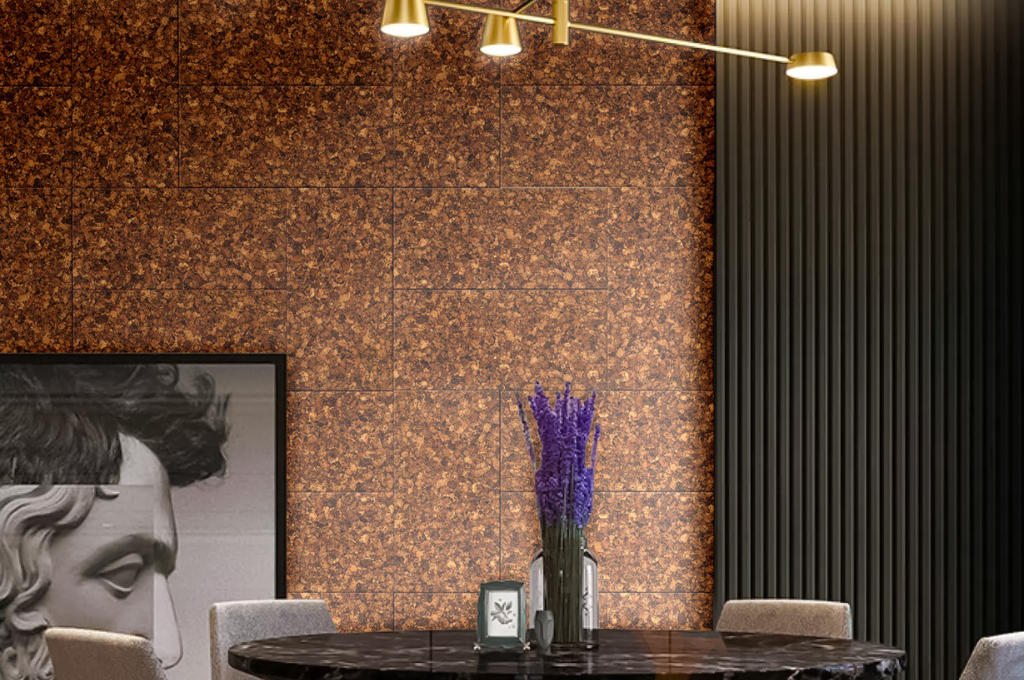
Cork wall tiles add warmth, texture, and eco-friendly charm to any space. The best part? Installing them is easier than you think! Whether you're a DIY enthusiast or a first-timer, this step-by-step guide will walk you through the process with simple instructions and tips to ensure a flawless installation. Let’s get started!
Important Note: Where NOT to Install Cork
Cork tiles are versatile, but they’re not suitable for every space. Avoid installing them in areas with:
- Excess moisture (e.g., bathrooms or kitchens near stovetops)
- Direct heat exposure (like near radiators or ovens)
- Direct sunlight (which can cause fading over time)
- Wallpapered walls (you’ll need to remove the wallpaper first)
Step 1: Let Your Cork Tiles Acclimatize

Cork is a natural material that expands and contracts with temperature and humidity changes. To prevent warping, unpack your tiles and let them sit in the room where they’ll be installed for at least 48 hours. The ideal room conditions? A temperature between 65°F and 85°F (19°C - 30°C) and humidity between 40% and 60%.
Step 2: Prep Your Wall

A well-prepared wall ensures strong adhesion and long-lasting results. Follow these steps:
- Make sure the wall is smooth, dry, and free of dust, grease, or old adhesives.
- If the wall is newly painted, lightly sand it for better adhesion.
- Avoid installing over wallpaper—remove it completely before starting.
- If your wall is porous (like fresh drywall), apply a primer first.
Step 3: Gather Your Tools
Here’s what you’ll need:
- Utility knife
- Metal ruler
- Level
- Pencil
- Chalk line
- Rubber mallet
- Contact adhesive (water-based is best). Buy cork adhesive HERE.
- Smooth brush or roller
- Cloth for cleanup
Step 4: Plan Your Layout & Mark Your Guide Lines

Before applying any adhesive, lay out your cork tiles on the floor to visualize your design. Keep these tips in mind:
- Mix tiles from different packages to blend color variations naturally.
- Start from the center of the wall and work outward.
- Allow for a 5%-10% overage to accommodate cutting and minor adjustments.
Using a chalk line or level, mark a centerline on the wall to guide placement. This ensures a balanced, professional-looking result. If your last row of tiles would be less than 2 inches wide, adjust your layout to avoid an uneven edge.
Step 5: Apply Adhesive & Install Tiles

For a strong bond, follow these adhesive tips:
- Buy cork adhesive HERE.
- Apply adhesive to both the wall and the back of each tile.
- Let the adhesive dry until it feels tacky (usually 30-120 minutes, depending on room conditions).
- Press each tile firmly into place, using a rubber mallet to secure it.
- Immediately wipe away any excess adhesive with a damp cloth.
Cleaning & Maintenance
Cork walls require minimal upkeep! Simply dust them regularly and, when needed, wipe them down with a damp cloth and a mild, pH-neutral cleaner. Avoid harsh chemicals and excessive moisture.
Maintain Proper Room Conditions
To keep your cork wall in top shape:
- Maintain indoor humidity between 40%-60% (which is the healthiest level for your own health as well) to prevent shrinkage or expansion.
- Use blinds or curtains to protect from prolonged direct sunlight.
- If a cork grain comes loose, a dab of wood glue will secure it back in place.
Enjoy Your New Cork Wall!
With these easy steps, you can achieve a stunning, natural cork accent wall that enhances your space’s aesthetic and comfort. Whether you’re going for a modern or rustic look, your new cork wall will be a conversation starter for years to come!
Happy installing!


